Photo: Freepik
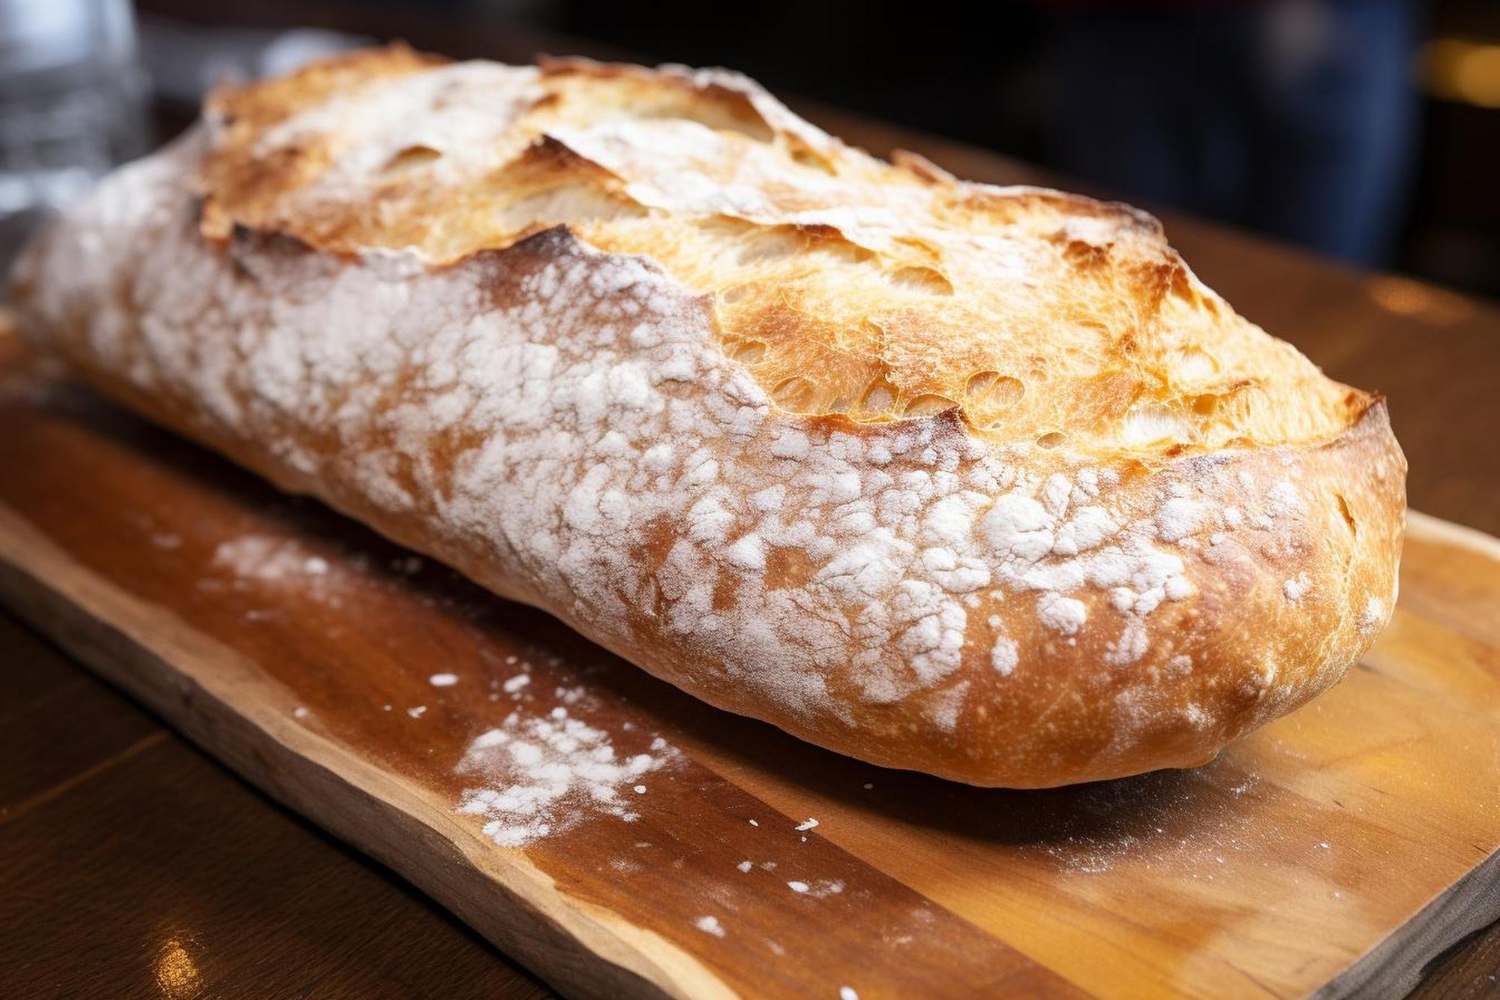
The light and crunchy crust regarding the Italy’s favorite bread is known as ciabatta. It looks like a shoe because “ciabatta” means “slipper” in Italian, and its shape is flat and elongated. It seems like it has been around for quite a while, but the truth is ciabatta is quite new, dating to the 1980s in Veneto when baguettes were starting to gain popularity. It’s the distinct country loaf that marks ciabatta out as special, the epitome of a worldwide kitchen staple.
The ricetta of ciabatta is all in all very simple and technique. An incredibly small number of components like flour, water, salt, and yeast is what lends to its unique texture- known as high-hydration dough. Its wet dough creates that open crumb and chewy bite that characterizes the bread.
The ideal ciabatta therefore rest on one’s ability to wait as the dough rests and ferments to develop its flavor and become light and airy when baked. Its crunchy texture is gotten from the kind of baking usually either hot stone or baking sheet while its color turns into golden brown. For a beginner, ciabatta can be a scary bread to make, but that’s where its beauty lies.
Welcome the stickiness of the dough and do not be tempted to add more flour—you need that moisture for the texture people love. When shaping, use gentle hands as too much force will break down the dough’s delicate structure. A very hot oven and steam (you can add water to a dish in the oven) will be a way of repeating what professional bakers do.
Its versatility is the best part: from sandwich to olive oil dip to an accompaniment with a good hearty soup, it just makes everything so much better if it’s all done from scratch at home. And the feeling of satisfaction of having baked this yourself puts you one step closer to being an artisan in Italy. Here’s how you can get this much-loved, rustic ambience onto your dinner table at home: follow our detailed recipe for preparing the perfect host to your chosen main course. Buon appetito!
Homemade Ciabatta
6
servings1
hour25
minutes256
kcalIngredients
500 grams of bread flour
375 ml of water
10 grams of salt
7 grams of dry yeast
30 ml of olive oil
Directions
- Prepare the Dough:
- In a large mixing bowl, combine the bread flour, water, and dry yeast. Stir until a rough dough forms.
- First Rise:
- Add the salt and olive oil to the mixture. Continue mixing until the dough is smooth and elastic. This can be done by hand or with a stand mixer fitted with a dough hook.
- Cover the bowl with a damp cloth or plastic wrap.
- Allow the dough to rise in a warm, draft-free area for about 1 to 2 hours, or until it has doubled in size.
- Shaping the Dough:
- After the dough has risen, transfer it to a floured surface, handling it gently to preserve its airiness.
- Divide the dough into two equal portions.
- Shape each portion into a rectangular form, resembling a slipper. Take care not to deflate the dough excessively.
- Second Rise:
- Place the shaped dough onto a floured baking sheet or parchment paper.
- Lightly cover the dough with a cloth and let it rest for another 30 to 45 minutes for the second rise.
- Preheat the Oven:
- Preheat your oven to 220°C (428°F). If you have a baking stone, place it in the oven to preheat as well.
- Baking the Ciabatta:
- Just before baking, sprinkle a little flour on the tops of the loaves.
- Transfer the dough to the preheated oven (or onto the baking stone, if using).
- Bake for approximately 20 to 25 minutes, or until the crust is golden brown and crisp. The bread should sound hollow when tapped on the bottom.
- Cooling:
- Remove the ciabatta from the oven and let it cool on a wire rack.


